Managing Products
In all of Vathos’ services, the term product refers to the object being captured by some camera. How loosely the term is interpreted is up to the customer. E.g., a product could mean some inject-molded part, but it could also mean the part manufactured with a certain injection molding tool. In other words, one and the same part manufactured with two different tools yield two distinct products. Products are global data meaning they are created in cloud, either through the frontend or API calls against the cloud endpoints, and distributed to all connected edge devices.
Using the Frontend
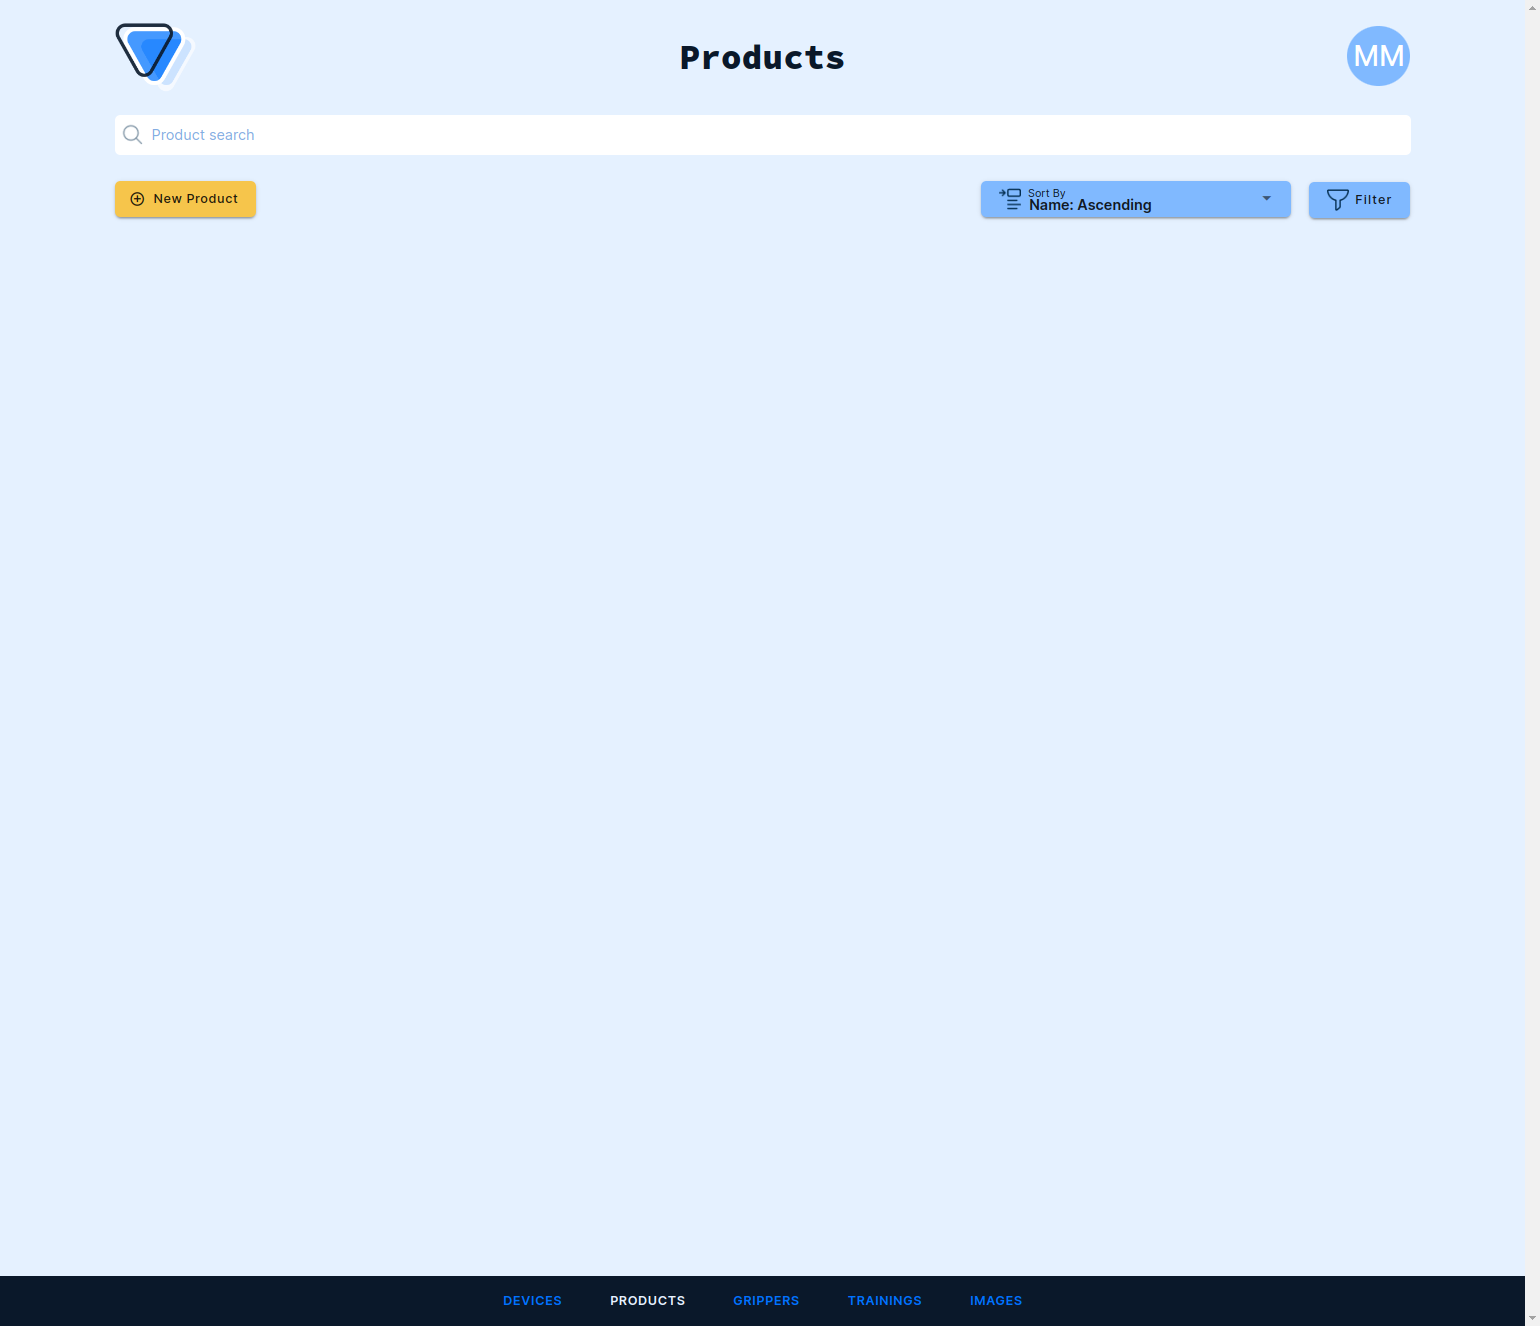
Log into the frontend at https://www.vathos.vision. Click Products at bottom menu to see the product overview. Then click New Product in the top left corner to create a new product:
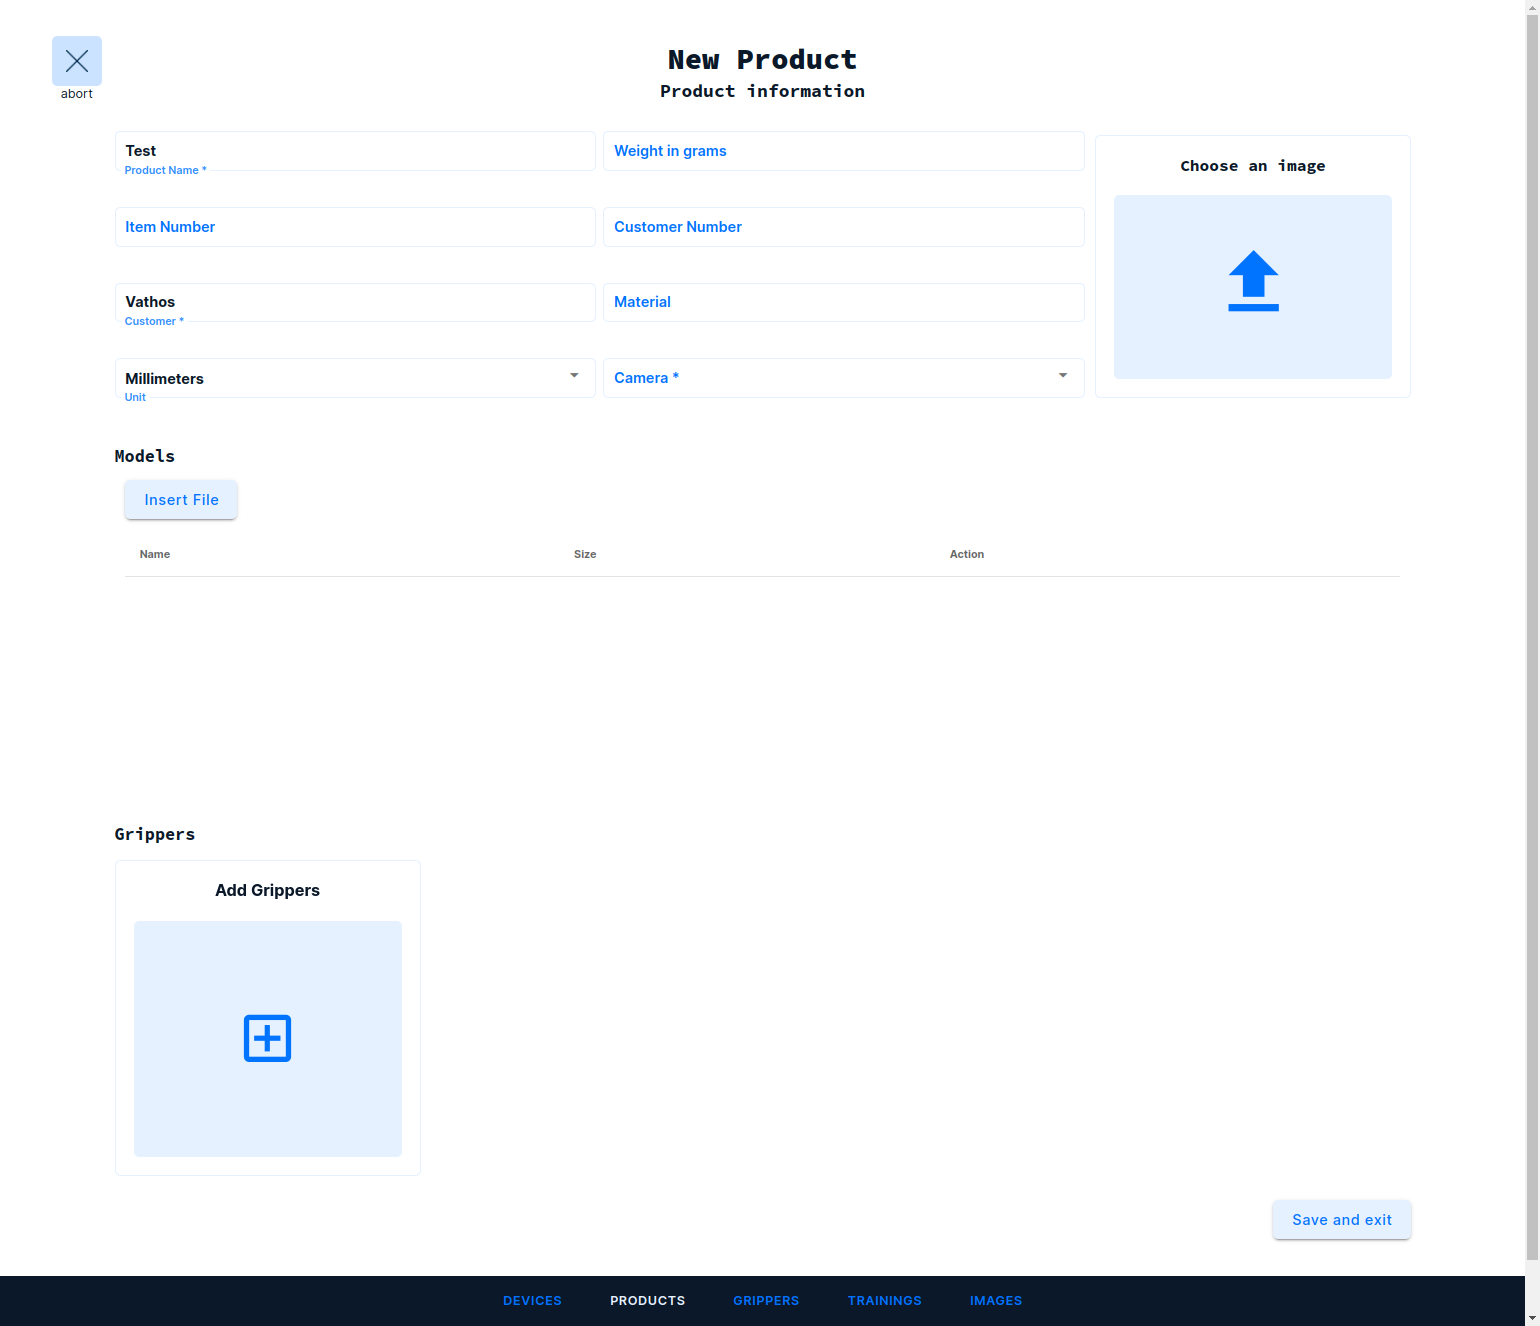
In the form that appears, pick a name and customer for the product. Optionally, fill out any metadata field that will help you identify and process the product later:
Then, click on Insert File and then Insert New File to select a CAD model of the product from the file system. Currently, only the Wavefront OBJ format is supported. There are a list of open-source programs for conversion into this format available, e.g., CAD Assistant by Open Cascade.
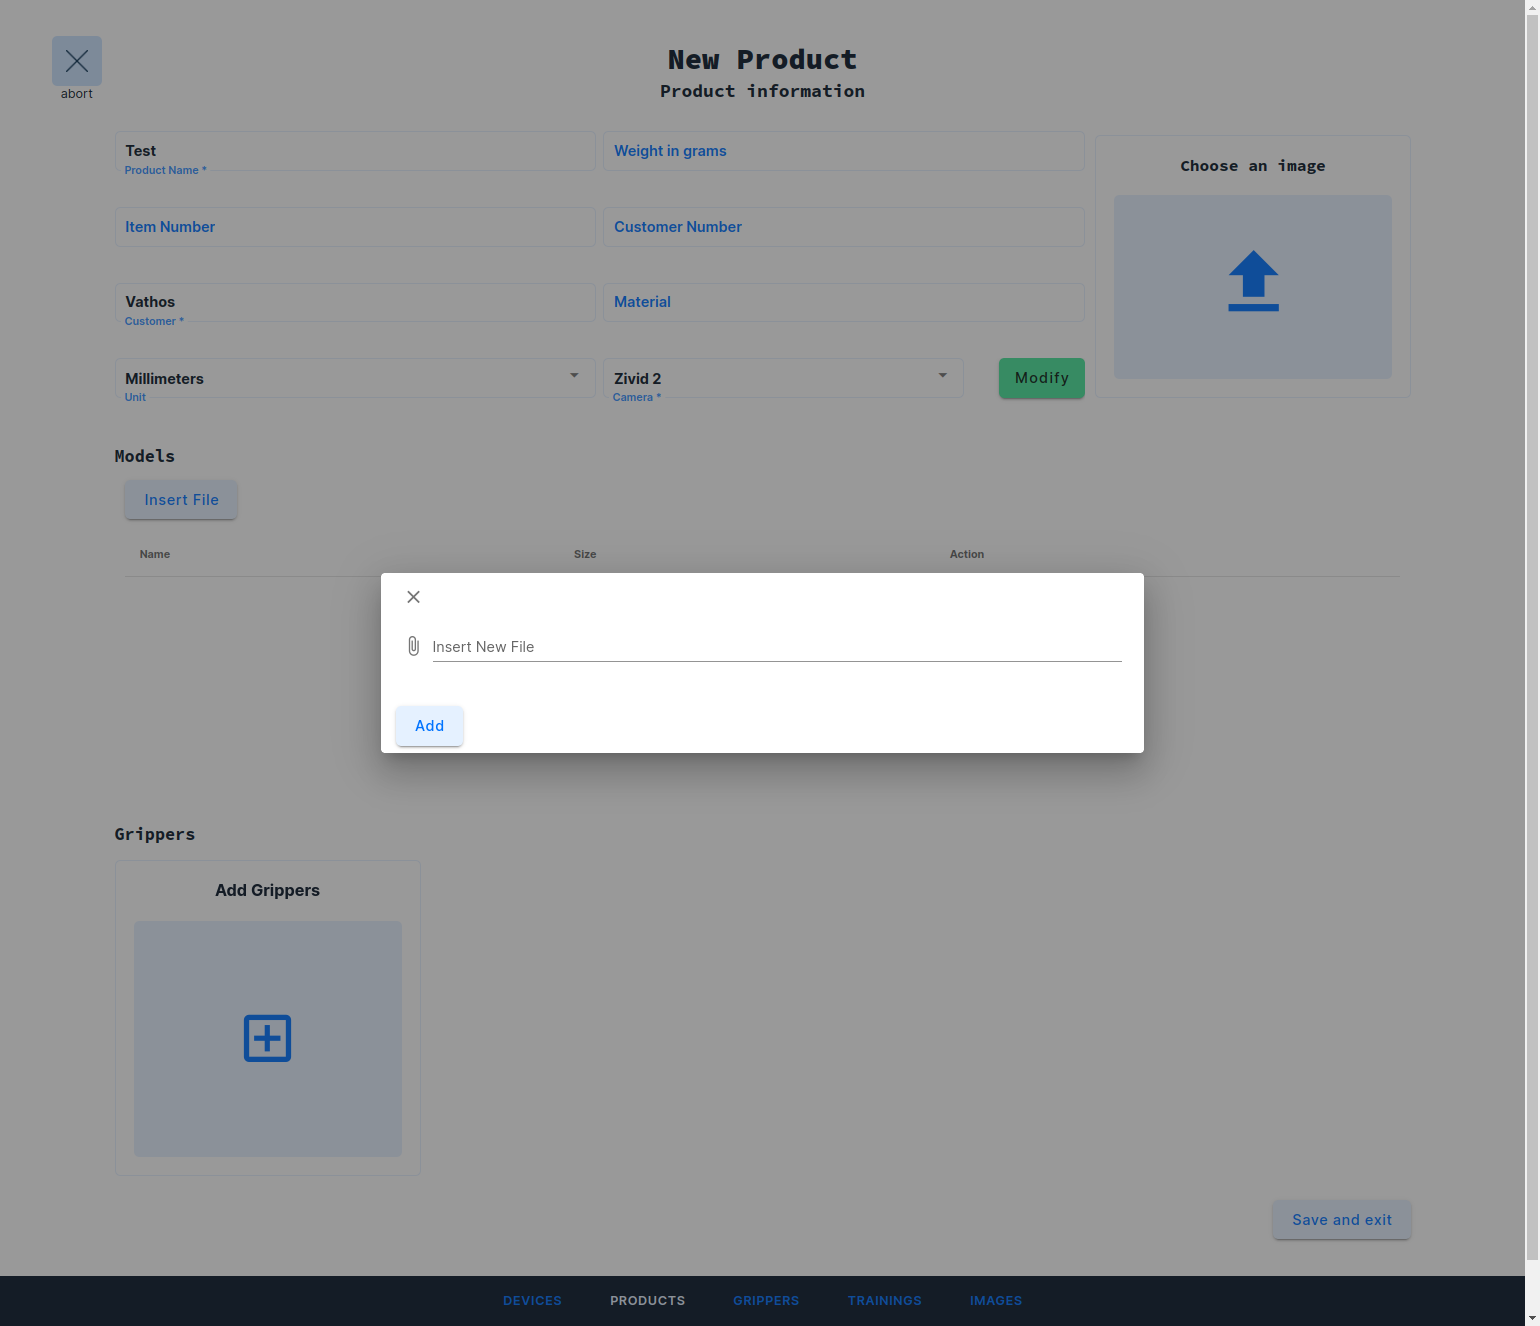
Note that you can repeat this process to attach multiple CAD models for applications such as sorting. Make sure to choose the Unit of the uploaded model as this cannot be inferred automatically. Click on Camera to select your camera model from a list of pre-defined entities from our camera database.
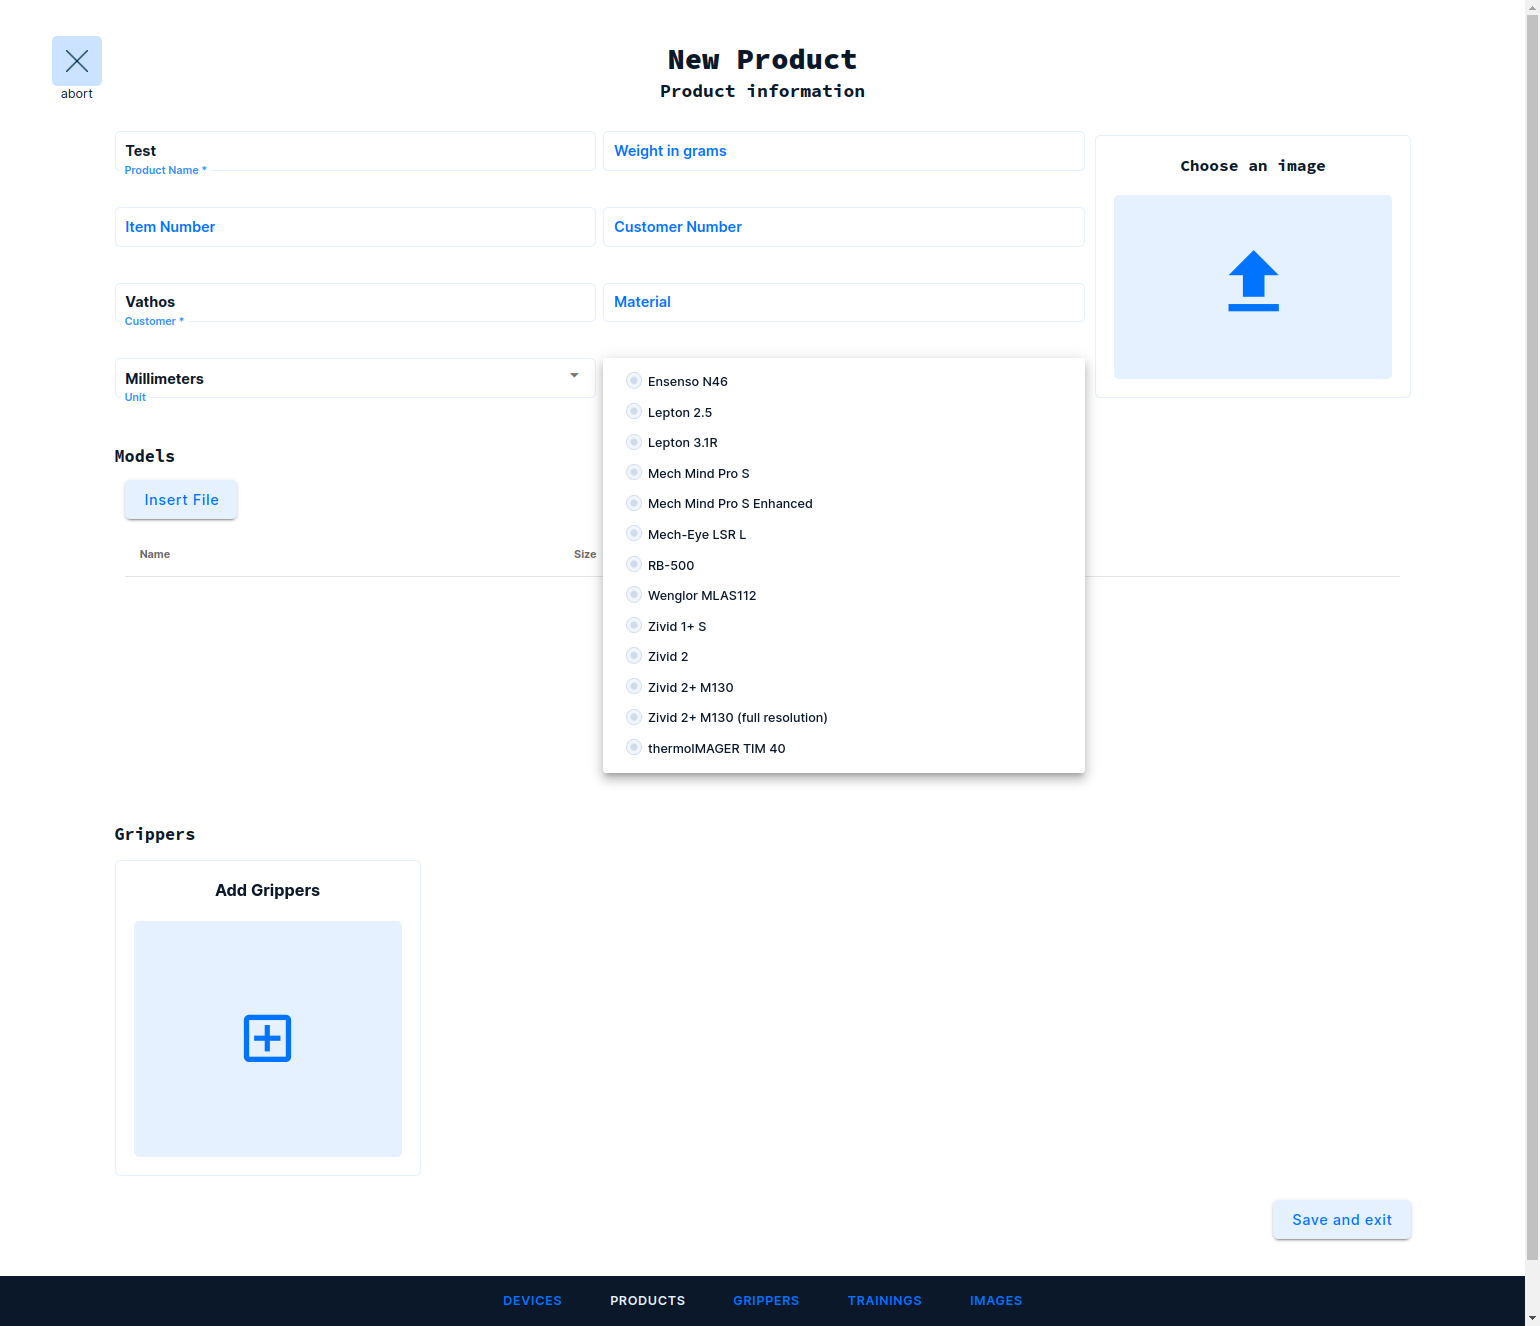
Click on Edit next to the camera selection field if you wish to replace the factory intrinsic parameters with values from some external calibration procedure. Hit Save and exit in the lower right corner.
Using the API
Uploading CAD Models
You can upload one ore multiple CAD files at once by attaching them to the body of a multipart form-data request:
POST https://api.vathos.net/v1/syncblobs
Authorization: Bearer $TOKEN
Content-Type: multipart/form-data; boundary="xxx"

--xxx
Content-Disposition: form-data; name="files"; filename="cad_model1.obj"
Content-Type: text/plain

< cad_model1.obj
--xxx--
Content-Disposition: form-data; name="files"; filename="cad_model2.obj"
Content-Type: text/plain

< cad_model2.obj
--xxx--
Note that the media type of OBJ files is text/plain. The response (shortened for the sake of clarity) may look like this:
[
  {
    "_id": "6304d06de6a02100127e2086",
    "originalName": "cad_model1.obj",
    "contentType": "text/plain"
  },
  {
    "_id": "65c49e38d0af154a0113067b",
    "originalName": "cad_model2.obj",
    "contentType": "text/plain"
  }
]
You need to store the file ids in temporary variables. They will later be attached to the request for creation of the product.
Creating a Camera
Each product holds a reference to the camera by which it will be imaged. Among the camera data are, e.g., the image size in pixels and the focal length of the lens. A list of pre-defined camera models can be obtained under the following API endpoint: https://api.vathos.net/v1/cameratypes. With a suitable query string, the list can be filtered for 3D/depth cameras:
GET https://api.vathos.net/v1/cameratypes?modalities=depth
Note that this endpoint is public and thus no token needs to be passed in the authorization header. The received list provides a blueprint for all relevant camera objects to be created, the choice obviously depending on what sensor the machine is physically equipped with. The data stored under the keys
modelsizeintrinsicsrangeprojectionType(optional)
from the selected reference camera must be copied one-to-one to the body of the following request to create a product-specific copy as follows:
POST https://api.vathos.net/v1/cameras
content-type: application/json
Authorization: Bearer $TOKEN

{
  "model": "Zivid 2",
  "size": {
    "width": 1944,
    "height": 1200
  },
  "intrinsics": [1779.80041, 0, 0, 0, 1782.1018, 0, 986.39929, 597.44458, 1],
  "range": {
    "min": 0.3,
    "max": 2.0
  },
  "projectionType": "perspective"
}
The projection type is optional with default value "perspective". The response to the camera creation request contains the data just passed to the API and, under the key _id, a unique alphanumeric object identifier by which the data can be accessed in all further requests. This identifier, say "65ae38376e95cd0011142732", will be injected into the product data as described in the following section.
Creating the Product
A new product must at least contain a reference to the camera created above and a human-readable name. Note that name and all other properties of the product can be retroactively modified and added to the through the web UI at http://www.vathos.vision. This is an example of a request for product creation:
POST https://api.vathos.net/v1/product
content-type: application/json
authorization: Bearer $TOKEN

{
    "name": "Product name",
    "camera": "65ae38376e95cd0011142732",
    "models": ["6304d06de6a02100127e2086", "65c49e38d0af154a0113067b"]
}
The response from the server will look something like this:
{
  "models": ["6304d06de6a02100127e2086", "65c49e38d0af154a0113067b"],
  "grips": [],
  "availableGrippers": [],
  "states": [],
  "_id": "65ae38376e95cd0011142732",
  "name": "Product name",
  "camera": "65ae3e326e95cd001114289c",
  "createdAt": "2024-01-22T10:17:41.737Z",
  "updatedAt": "2024-01-22T10:17:41.737Z",
  "__v": 0
}
Running Model Analysis
If you are planning to use the product in a Pick & Place application, it is imperative to run an automatic analysis of the uploaded CAD models. This is achieved by creating a task passing the id of the newly created product and the name of the backend service processing the task:
POST https://api.vathos.net/v1/tasks
content-type: application/json
Authorization: Bearer $TOKEN

{
    "service": "model.analysis.vathos.net",
    "product": "65ae38376e95cd0011142732"
}
The response will a contain a unique task id under which its status and result can be queried subsequently.